
How to paint cabinets: DIY guide saving 60-80% in LA
- Jonathan Hernandez
- Mar 26
- 8 min read


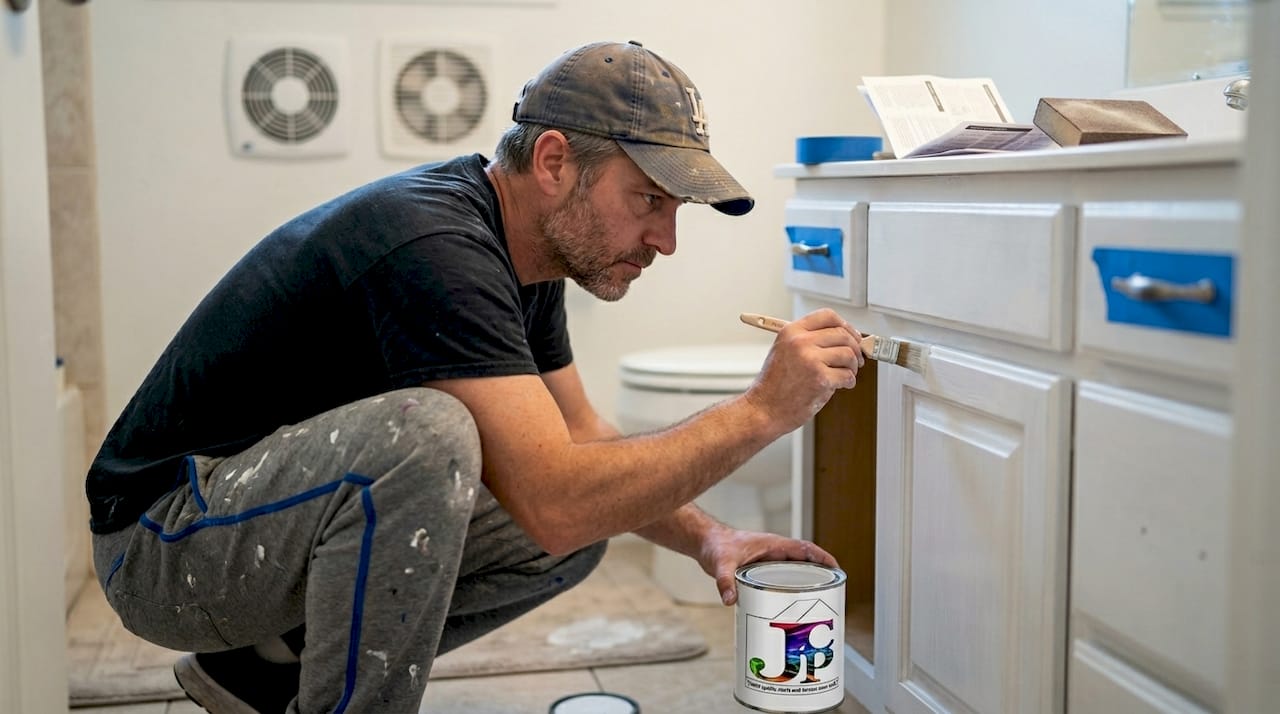
Painting your kitchen or bathroom cabinets is one of the highest-impact upgrades you can make without gutting your entire space. A fresh coat of the right paint can make a dated kitchen look brand new, and it costs a fraction of what full replacement runs. In fact, cabinet painting saves homeowners 60-80% compared to buying new cabinets. But rush the process or skip key steps, and you’ll end up with peeling, chipping, and a job you’ll need to redo in months. This guide walks you through every step, with tips tailored specifically for Los Angeles homes where humidity and ventilation make a real difference.
Table of Contents
Key Takeaways
Point | Details |
Prep is crucial | Cleaning, sanding, and choosing moisture-resistant products ensure your painted cabinets last in LA’s climate. |
Follow each step | Step-by-step instructions and patience between coats deliver professional results and high ROI. |
Avoid common mistakes | Don’t skip degreasing or sanding—even for laminate—or rush the curing process, or you risk peeling and chipping. |
DIY saves money | Painting your cabinets yourself costs a fraction of replacement and offers up to 96% ROI, but professional help may be needed for flawless spray finishes. |
What you need: Tools, materials, and prep for LA homeowners
Before you open a single can of paint, you need the right setup. Walking into this project without the proper tools is the fastest way to get a finish that looks amateur. Here’s what to gather before day one.
Essential tools and materials:
Screwdrivers (flathead and Phillips) for removing doors and hardware
TSP degreaser (trisodium phosphate) or a TSP substitute to cut through grease and grime
Sanding block or sponge (120-grit to scuff, 220-grit to smooth between coats)
Tack cloth to wipe away all sanding dust before priming
High-adhesion primer such as Zinsser BIN or Kilz Original
Waterborne alkyd enamel paint in satin or semi-gloss finish (more on this below)
Foam roller (4-inch) for flat surfaces and a 2-inch angled brush for edges and details
Painter’s tape and drop cloths to protect counters and floors
Zip-lock bags and labels to keep screws and hardware organized
For LA kitchens and bathrooms, paint selection is critical. Satin or semi-gloss waterborne alkyd enamel is the best choice for moisture resistance, hardness, and cleanability. Brands like Benjamin Moore cabinet paints offer excellent options specifically formulated for cabinetry. Standard wall paint is too soft and will scuff and scratch within weeks in a high-traffic kitchen.
LA’s coastal and inland humidity can affect how paint dries and adheres. Always work in a well-ventilated space. Open windows, run a fan, and if you’re painting during a humid stretch, consider running a dehumidifier. These small steps make a measurable difference in how your finish holds up over time. You can find more painting tips for DIY projects on our blog to help you prep like a pro.
Comparison: Materials by cabinet surface type
Surface type | Primer needed | Paint type | Sanding required |
Wood (painted) | High-adhesion primer | Waterborne alkyd enamel | Yes, 120-grit then 220-grit |
Wood (raw/stained) | Shellac-based primer | Waterborne alkyd enamel | Yes, 120-grit then 220-grit |
Laminate | Adhesion primer (Zinsser Bondz) | Waterborne alkyd enamel | Yes, light scuff with 220-grit |
Humid area (bath/kitchen) | Mold-resistant primer | Satin/semi-gloss alkyd enamel | Yes, all stages |
Pro Tip: Before removing cabinet doors, number each door and its corresponding opening with a piece of painter’s tape and a marker. This labeling system saves you from the guesswork of figuring out which door goes where during reinstallation, especially if your cabinets aren’t all the same size.
Step-by-step guide: Painting cabinets like a pro
With your tools ready and workspace prepared, here’s exactly how to paint your cabinets for professional-looking results. Follow these steps in order. Skipping even one can cost you weeks of work.
Remove all doors, drawers, and hardware. Use your screwdriver and place all screws in labeled bags.
Degrease every surface. Wipe down all cabinet boxes, doors, and drawer fronts with TSP or a TSP substitute. Grease from cooking is invisible but will prevent paint from sticking.
Sand all surfaces. Use 120-grit to scuff the existing finish, then wipe clean. This gives the primer something to grip.
Wipe with tack cloth. Remove every trace of sanding dust. Even a thin layer of dust under primer will cause adhesion problems.
Apply primer. Use a foam roller for flat areas and a brush for edges. Apply one even coat and let it dry completely per the manufacturer’s instructions.
Lightly sand the primed surface. Use 220-grit for a smooth base. Wipe again with tack cloth.
Apply the first coat of paint. Use thin, even strokes. A foam roller minimizes texture on flat panels.
Let dry, then lightly sand again with 220-grit. This step is what separates a smooth finish from a bumpy one.
Apply the second coat of paint. This is your final coat, so take your time.
Allow full cure before reinstalling. DIY projects take 15-30 hours spread over about a week, while pros can complete the job in 3-7 days using spray equipment.
“Proper prep and cure are what separate a cabinet paint job that lasts 5 or more years from one that starts chipping within months. There are no shortcuts that hold up over time.” Based on dos and don’ts of painting cabinets.
For laminate cabinet painting, the process is nearly identical but adhesion primer is non-negotiable. Laminate is slick by design, and without the right primer, your paint will peel in sheets.
DIY vs. professional spray finish: A quick comparison
Factor | DIY brush and roller | Professional spray finish |
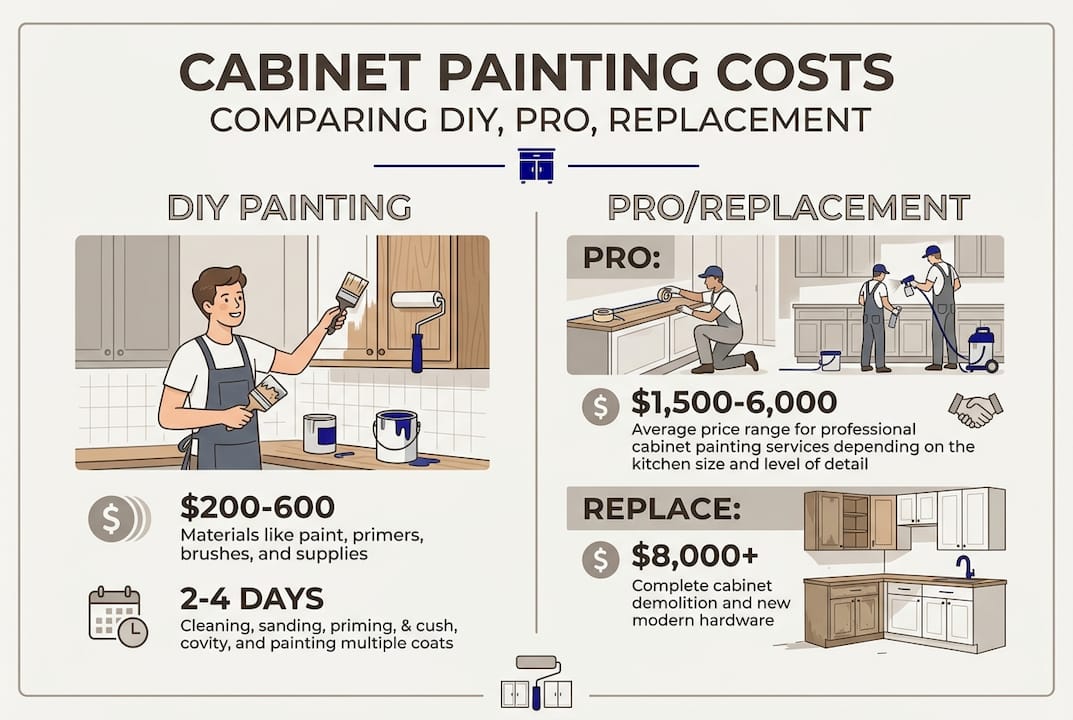
Cost | $200-600 in materials | $1,500-6,000 labor and materials |
Time | 1-2 weeks (15-30 hours) | 3-7 days |
Finish quality | Good with care | Factory-smooth |
Durability | 3-7 years with proper prep | 7-10+ years |
Best for | Budget-conscious updates | High-value homes, complex layouts |
Pro Tip: Always apply thin coats rather than thick ones. Thick coats drip, take longer to dry, and are harder to sand smooth. Two thin coats will always outperform one heavy coat. Check out our interior painting tips for more techniques that apply directly to cabinet work.
Troubleshooting, common mistakes, and LA-specific tips
Even with thorough prep, mistakes are common. Here’s how to sidestep them and get lasting results in LA.
The most common cabinet painting mistakes:
Skipping degreasing. Grease bleeds through paint and causes adhesion failure. This is the number one reason DIY cabinet jobs fail.
Not sanding enough. A glossy surface won’t hold primer. You need to physically scuff it.
Skipping primer. Paint alone won’t bond to raw wood or laminate the way a primed surface will.
Using wall paint. Wall paint is too soft for cabinets. It scuffs, scratches, and marks easily.
Painting in high humidity without ventilation. Paint traps moisture and bubbles or takes forever to dry.
Reinstalling too soon. Paint may feel dry to the touch in hours, but it takes days to harden fully.
According to common cabinet painting mistakes, skipping degreasing, rushing cure, or using the wrong paint are the top causes of peeling and short lifespan. And for laminate specifically, light sanding is essential even if you’re using a so-called no-sand primer. Those products rarely perform as advertised on their own.
LA-specific considerations:
Los Angeles weather varies more than people expect. Coastal neighborhoods like Santa Monica and Venice deal with marine layer humidity in the mornings. Inland areas like the San Fernando Valley get dry heat that can cause paint to dry too fast and crack. In either case, ventilation is your best tool. Run fans, crack windows, and give each coat the full recommended dry time.
Pro Tip: If you’re painting during a humid stretch or in a bathroom with poor airflow, run a small dehumidifier or box fan pointed out a window while each coat dries. This one step can cut dry time significantly and prevent bubbling.
Quick fixes for common problems:
Peeling or chipping: Sand back to bare surface, re-prime, and repaint. Don’t try to paint over peeling paint.
Bubbling: Usually caused by moisture or painting over a dirty surface. Let it cure, sand smooth, and recoat.
Uneven finish: Light sand with 220-grit between coats and apply a final thin coat.
For a deeper look at refinishing options, our cabinet refinishing guide covers when a full refinish makes more sense than a paint-only job. You can also browse cabinet refinishing tips from Benjamin Moore for product-specific guidance.
ROI callout: The return on investment for DIY cabinet painting ranges from 50-96% on resale value, making it one of the most cost-effective home improvement projects you can tackle before listing a home.
Cost, ROI, and deciding between DIY or pro
After avoiding mistakes, you should consider how much time and money you’ll invest and what you’ll get back. The numbers here are pretty compelling no matter which route you choose.
Cost comparison: DIY vs. pro vs. replacement
Option | Estimated cost | Time required | Finish quality |
DIY painting | $200-600 in materials | 1-2 weeks | Good |
Professional painting | $1,500-6,000 | 3-7 days | Excellent |
Cabinet replacement | $15,000-40,000+ | 2-6 weeks | New |
The ROI on painted cabinets runs 50-96% on resale, which is exceptional for a project that costs a few hundred dollars in materials. Replacement rarely delivers that kind of return relative to cost.
When to hire a pro:
Your cabinets are in a high-humidity bathroom or coastal LA home
You want a factory-smooth spray finish without brush marks
You have more than 20 cabinet doors or a complex kitchen layout
You’re preparing to sell and need the job done fast and flawlessly
You’ve had a DIY job fail before and want it done right this time
When DIY makes sense:
You have time and patience for a 1-2 week project
Your cabinets are in good structural condition
You’re updating a rental or a home you plan to stay in long-term
Budget is the primary concern
For a full breakdown of what professional services cost in LA, visit our cabinet refinishing costs page. If you want to see what a pro finish actually looks like, the ROI for cabinet refinishing page walks through real project outcomes.
Professional cabinet painting and refinishing in Los Angeles
If you’ve read through this guide and realized the job is bigger than you want to tackle alone, or you simply want a flawless spray finish that lasts a decade, Johnny’s Custom Painting is ready to help. We’ve been serving LA homeowners for over 16 years, and Los Angeles cabinet painting is one of our most requested services.
Our team uses professional spray equipment, premium low-VOC paints, and a proven prep process that holds up in LA’s varied climate conditions. You can browse our cabinet refinishing portfolio to see real before-and-after results from kitchens and bathrooms across the city. We offer free consultations and personalized advice so you know exactly what to expect before any work begins. Reach out to Johnny’s Custom Painting today to schedule your free estimate and get your cabinets looking their best.
Frequently asked questions
How long does cabinet paint take to cure before reinstalling?
Cabinet paint can take 3-7 days to cure fully, and even longer in humid conditions. Wait at least a full week before rehinging doors or reinstalling hardware to avoid denting the soft paint film.
Can I paint laminate cabinets without sanding?
No. Experts consistently recommend sanding laminate lightly to scuff the glossy surface before priming. Even the best adhesion primers like Zinsser Bondz or Kilz perform better on a scuffed surface than a smooth one.
What’s the best paint finish for kitchen and bath cabinets in Los Angeles?
A satin or semi-gloss waterborne alkyd enamel gives you the best combination of moisture resistance, hardness, and easy cleaning for LA kitchens and bathrooms.
How much does cabinet painting cost compared to replacement?
DIY painting runs about $200-600 in materials, professional services range from $1,500-6,000, and full cabinet replacement can cost $15,000-40,000 or more. Painting delivers 60-80% savings over replacement.
What if my cabinets chip or peel soon after painting?
Chipping and peeling almost always trace back to skipping sanding or rushing cure. Sand the affected area back to a stable surface, apply fresh primer, and repaint with thin coats for a lasting repair.
Recommended
Comments