
Touch Up Painting: Enhance Your Los Angeles Home Affordably
- Jonathan Hernandez
- Apr 21
- 9 min read

TL;DR:
Touch up painting targets small, damaged areas, saving time and money compared to full repainting.
Proper prep, matching paint, and technique are vital for seamless, long-lasting touch ups.
Professionals excel at color matching and blending, ensuring virtually invisible repairs.
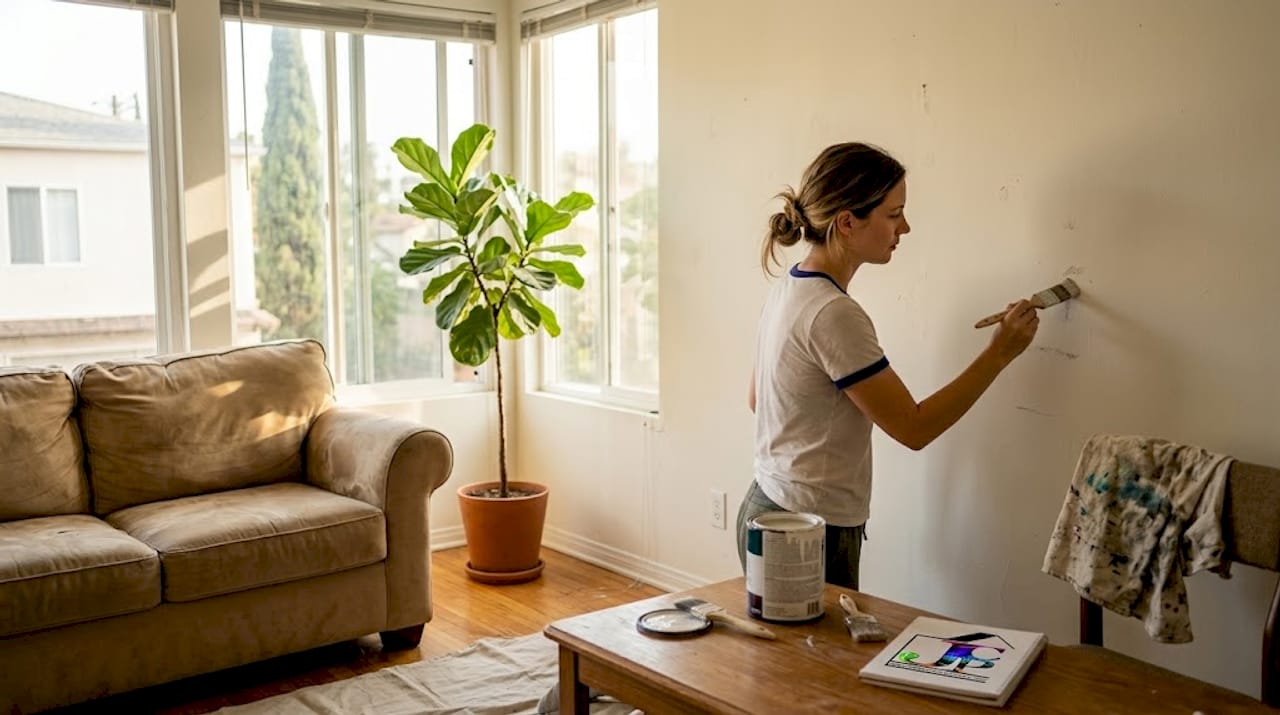
Most Los Angeles homeowners assume that fixing a scuffed hallway or a chipped door frame means scheduling a full repaint and clearing their schedule for days. That assumption costs people real money. Touch up painting is a targeted, affordable approach that addresses only the spots that actually need attention, leaving the rest of your home undisturbed. It is the smart middle ground between ignoring damage and committing to a major painting project. Whether you have kids, pets, or just the normal wear that comes with California living, touch up painting keeps your home looking sharp without the heavy price tag.
Table of Contents
Key Takeaways
Point | Details |
Cost-effective upgrades | Touch up painting is one of the most affordable ways to refresh your home’s look. |
DIY vs. pro choice | Simple repairs can be done yourself, but pros ensure seamless results on visible surfaces. |
Right process matters | Proper prep and matching paint are key for a flawless touch up. |
Preserve home value | Regular touch ups prevent bigger repairs and help your home maintain its appeal. |
What is touch up painting? Core concepts for homeowners
With a clear introduction, let’s dig into what touch up painting truly involves and why it matters for your home.
Touch up painting is exactly what the name suggests. Instead of rolling fresh paint over an entire wall or room, you apply paint only to the small areas that are chipped, scuffed, stained, or faded. It is surgical rather than sweeping. Touch up painting targets only specific damaged or worn spots rather than entire surfaces, which is what makes it so efficient and budget-friendly.
This approach is fundamentally different from a full repaint. A full repaint involves priming and coating every inch of a surface, typically requiring furniture removal, extensive masking, and multiple days of work. Touch up painting might take an hour or an afternoon, depending on how many spots need attention and how large they are. The savings in labor and materials are substantial.
Here is why touch up painting matters for homeowners in Los Angeles:
Saves money: You pay for materials and labor only where needed, not for entire rooms.
Saves time: Most jobs wrap up in a single visit with minimal disruption to your daily routine.
Protects surfaces: Exposed drywall or bare wood can absorb moisture and deteriorate quickly, especially in homes near the coast.
Maintains curb appeal and resale value: A scuffed entryway or faded trim can quietly drag down a buyer’s first impression.
Extends the life of your current paint job: Catching small issues early prevents them from spreading into larger, costlier problems.
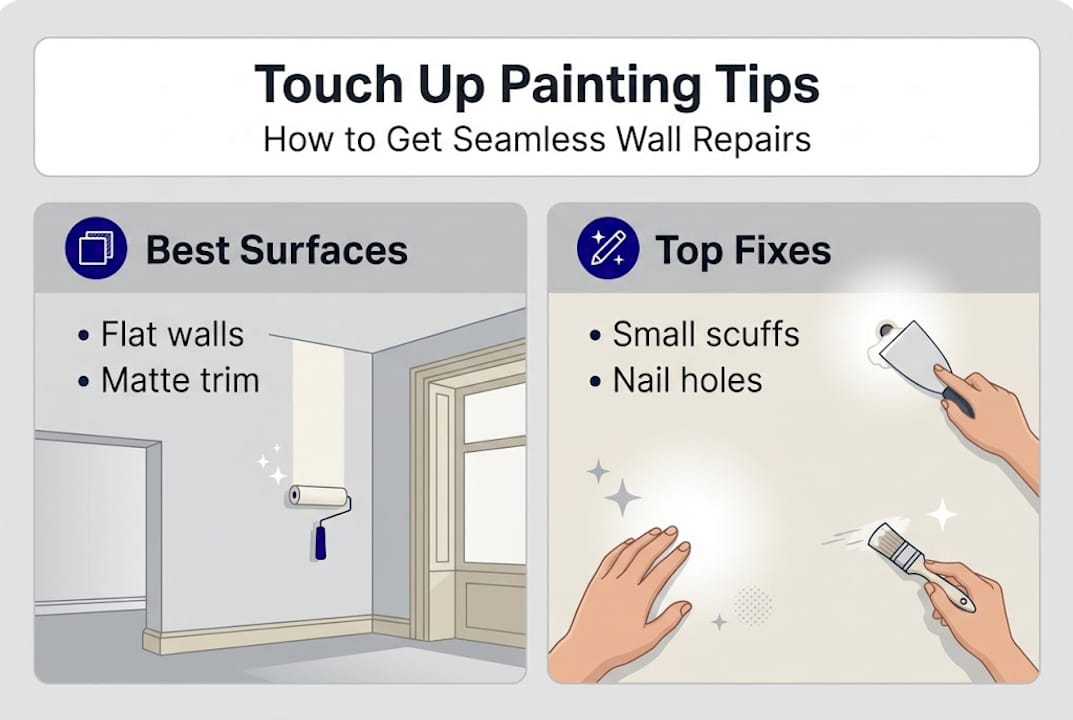
The best surfaces for touch up painting include interior walls, doors, baseboards, trim, crown molding, and window frames. These high-contact areas collect the most visible wear over time.
That said, touch up painting is not always the right call. If your paint has faded significantly across a whole wall, or the existing color has shifted due to sunlight exposure, a full repaint of that surface may look more consistent than isolated patches. A good rule of thumb: if more than 30% of a surface shows wear, consider repainting the full section rather than dotting it with touch ups.
Statistic callout: Studies in the home services industry consistently show that targeted maintenance painting, including touch ups, costs homeowners significantly less than waiting for conditions to worsen and committing to full repaints.
Common scenarios: When and where to use touch up painting
Now that you know what touch up painting means, let’s look at some common scenarios where this strategy can make the biggest impact.
Many Los Angeles homeowners use touch up painting for high-traffic areas and quick cosmetic fixes. Think of the hallway your kids run through every afternoon, the baseboards your dog brushes against, or the door frame that takes a hit every time someone rushes out the door.
Here are the most common touch up scenarios:
Scuffed or marked hallway walls from backpacks, furniture moves, or general traffic
Chipped door frames and doors from repeated use
Faded accent walls that have lost vibrancy in direct sunlight
Scratched baseboards from furniture legs or vacuum cleaners
Small ceiling stains from a past minor leak that has since been repaired
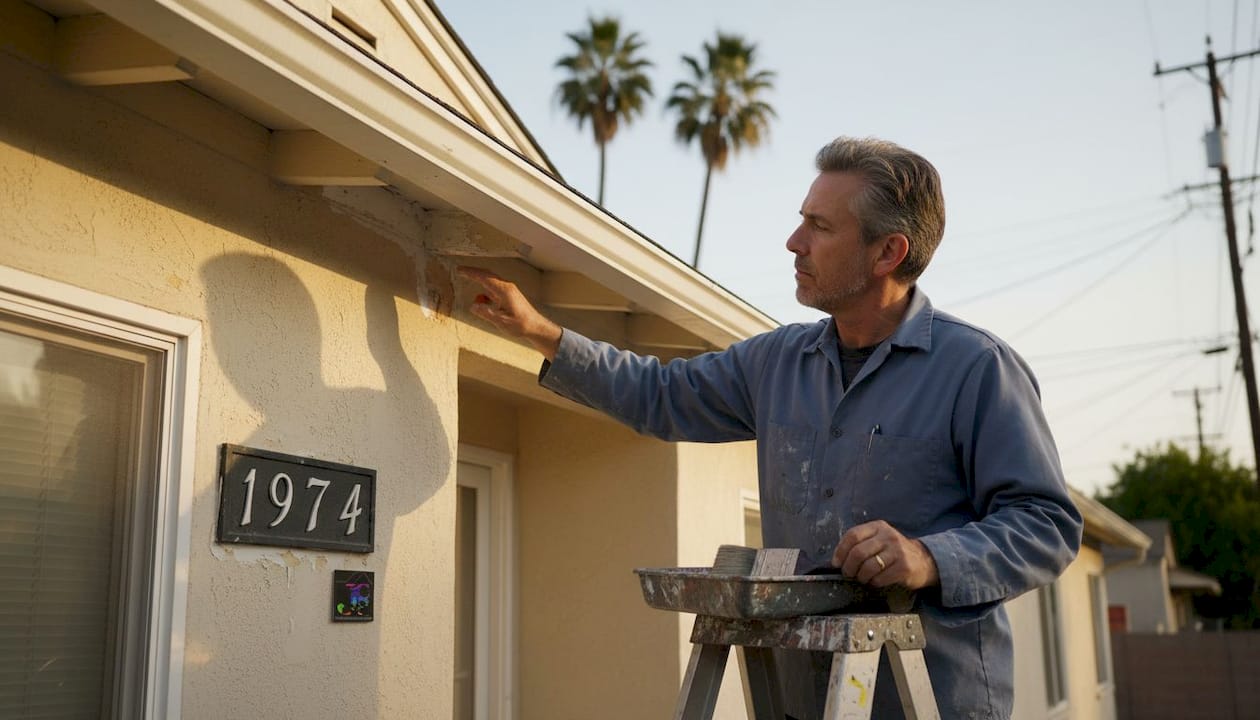
Peeling paint around windows due to moisture exposure
Los Angeles homes face some unique conditions that accelerate wear. Strong sunlight fades paint faster here than in cloudier climates. Households with pets often deal with scratches near door bottoms and baseboards. Families with young children contend with scuffs at shoulder height and around light switches.
Surface | Common Damage | Best Fix |
Interior walls | Scuffs, marks, small holes | Touch up or spot prime and paint |
Baseboards and trim | Chips, scratches | Light sand and touch up |
Doors and frames | Chips, peeling edges | Targeted touch up with matching sheen |
Ceilings | Small stains | Spot prime, then touch up |
Accent walls | Fading | Evaluate: touch up or full wall repaint |
Not every surface responds equally well to touch ups. Flat paint blends more forgivingly than high-gloss finishes. Textured walls require more technique to avoid making the patch obvious.
Pro Tip: Always store leftover paint in a tightly sealed container labeled with the room name and color code. Properly stored paint stays usable for years and is the single most accurate way to match future touch ups without guessing.
For inspiration on home transformation projects, seeing before-and-after examples of touch up work can clarify just how dramatic a difference a small effort makes.
DIY or professional? Choosing your approach
After identifying where touch up painting is needed, the next step is choosing between a DIY fix or a professional service.
Professional painters offer advanced color matching and prep techniques for seamless results, which is often the deciding factor when the area is highly visible or the existing paint color is complex.
Factor | DIY | Professional |
Cost | Lower upfront | Higher but often worth it |
Color matching | Challenging without original paint | Precise with spectrophotometer tools |
Time | Variable, depends on skill | Fast and efficient |
Blending quality | Risk of visible patches | Seamless, professional finish |
Risk | Mismatch or flashing common | Minimized with experience |
For small, low-profile spots where you have the original paint and a steady hand, DIY touch ups are entirely reasonable. Here is how to do it right:
Assess the damage: Determine if the surface needs cleaning, sanding, or priming before any paint goes on.
Gather your materials: You will need the original paint or a close match, a small brush or foam roller, painter’s tape, and a clean cloth.
Clean the area: Wipe down the spot with a damp cloth and let it dry completely.
Sand lightly if needed: Smooth any raised edges around chips or scratches with fine-grit sandpaper.
Apply paint in thin coats: One thick coat almost always looks worse than two thin ones. Let each coat dry before adding the next.
Blend the edges: Feather out the paint at the edges to help it merge with the surrounding surface.
Evaluate in different lighting: Check the result in both natural and artificial light before calling it done.
When should you skip the DIY and call a professional? Reach out to a pro when the damage is large, the surface texture is complex, the color is difficult to match, or the area is in a prominent spot where a mismatched patch would stand out. For expert project management on more involved jobs, professional oversight makes a real difference in the final outcome.
The touch up painting process: Steps for lasting results
Once you know whether to DIY or hire a professional, understanding the touch up process ensures you get beautiful, long-lasting results.
Proper surface prep and high-quality materials are key to touch up success. Skipping prep is the number one reason touch up jobs look patchy or peel prematurely.
Here are the essential tools and supplies:
Small angled brush and mini foam roller
Fine-grit sandpaper (150 to 220 grit)
Painter’s tape
Lightweight spackle or joint compound for holes
Primer (for bare spots or stain coverage)
The matching paint in the correct sheen
Clean rags and a bucket of warm water
Now, the step-by-step process:
Spot assessment: Identify the full extent of the damage. Look for cracks, holes, or peeling that goes beyond the surface.
Cleaning: Wash the area with a mild detergent solution. Grease or grime will prevent paint from adhering properly.
Repair: Fill any holes or gouges with spackle. Let it cure fully according to the product instructions.
Sanding: Sand smooth and feather the edges. Wipe away all dust with a tack cloth.
Priming: Apply a spot primer to bare drywall, repaired areas, or stains. This prevents the patch from absorbing paint unevenly.
Painting: Apply paint in thin, even coats using the same tool type that was originally used on the surface.
Blending: Feather the wet paint outward to reduce the visible edge where old meets new.
Clean up: Remove tape while the paint is still slightly tacky to avoid peeling.
Pro Tip: Test your touch up paint on a piece of cardboard first and hold it against the wall in both daylight and evening lamplight. Paint color shifts depending on the light source, and catching a mismatch before it goes on the wall saves you a second round of work.
For larger repairs that involve drywall damage, checking out drywall repair tips gives you a stronger foundation before painting begins. You can also browse the interior painting portfolio to see the quality standard that professional prep and technique produces.
A professional painter’s take: What most homeowners get wrong about touch up jobs
After exploring the process, reflect on the real-world expertise that separates great touch ups from amateur patches.
Here is something most people do not realize: the actual paint application is the easiest part. What makes or breaks a touch up is everything that comes before and after the brush touches the wall. We have seen homeowners spend money on premium paint, then apply it over a dirty or unprimed surface and wonder why the patch is obvious.
The other major mistake is sheen mismatch. Even if you get the color exactly right, applying a satin paint over an eggshell wall creates a visible difference under light. Homeowners often underestimate color matching complexity, leading to visible patches that look worse than the original damage.
Pros avoid this by testing sheen and color together, and by using proper feathering techniques to eliminate the hard edge where old paint ends and new paint begins. When done correctly, a professional touch up is genuinely invisible.
The real value of a good touch up job is what it postpones. A few hours of targeted work can delay a full interior repaint by two or three years, saving thousands of dollars. For Los Angeles homeowners, that is a worthwhile investment. Explore more painting tips to keep building on what you have learned here.
Get flawless results with trusted Los Angeles experts
Ready to see the difference expert touch up painting can make in your home? Here’s how to connect with top-rated Los Angeles painters.
Even small jobs deserve professional attention when the results matter. At Johnny’s Custom Painting, we handle touch up projects with the same care and precision we bring to full repaints, because we know that a single visible patch in your entryway can undermine your home’s entire look.

Browse our see interior touch up projects gallery to see the quality we deliver, or take a look at our exterior painting solutions if your outside surfaces need attention too. Whether you need one wall refreshed or a whole home assessed, the Los Angeles painting experts at Johnny’s Custom Painting are ready to give you a free estimate with no pressure and no guesswork.
Frequently asked questions
How is touch up painting different from repainting an entire room?
Touch up work focuses on limited spots rather than broad surfaces, while a full repaint covers every inch of a wall or room for a complete, uniform refresh.
What paint should I use for touch ups to match my walls?
Use your leftover original paint if it has been stored properly, or bring a chip or sample to a paint store where professionals use advanced color-matching technology to find the closest possible match.
How do I prepare a surface before touch up painting?
Clean the spot with a mild detergent, let it dry fully, then lightly sand any rough edges before applying paint. Proper prep is essential for a result that lasts and blends well.
When should I hire a professional for touch up painting?
Hire a pro when the damaged area is large, the color is hard to match, or the spot is in a highly visible location where pros are best for complex or critical touch ups that demand seamless blending.
Recommended
Comments